What you need to paint a mural: surfaces, paint, tools and a plan
A practical list for painting a mural: checking the wall, choosing exterior paint, tools for height and straight lines, and working out quantities first.

We earn a commission on some bookings and books. As an Amazon Associate I earn from qualifying purchases.
Most of what a mural needs comes from a builders' merchant, not an art shop. The romance is in the design and the brushwork, but the things that decide whether a wall still looks good in five winters are duller: what the surface was painted with before, which primer went on, whether the paint suited the weather on the day. Get those right and a modest design will last. Get them wrong and a brilliant one will flake.
This is a list for small and medium walls, the kind a school, a residents' group or a single artist with a couple of helpers can paint without a crane: a courtyard wall, a garage end, an underpass, the side of a community hall. It runs in the order the work does: surface, paint, tools, plan. In Zagreb, late October is the season for planning rather than painting outdoors, and that is no bad thing. A wall planned over the winter is usually a better wall in spring.
Start with the wall, not the paint
Every surface wants something different. Cement render and concrete are the common cases and the most forgiving. Brick is absorbent and uneven, so it drinks primer. Old lime render is soft and should not be sealed under a plastic coating. Timber hoardings move with the weather, and metal shutters need a primer made for metal or the paint will peel off in sheets.
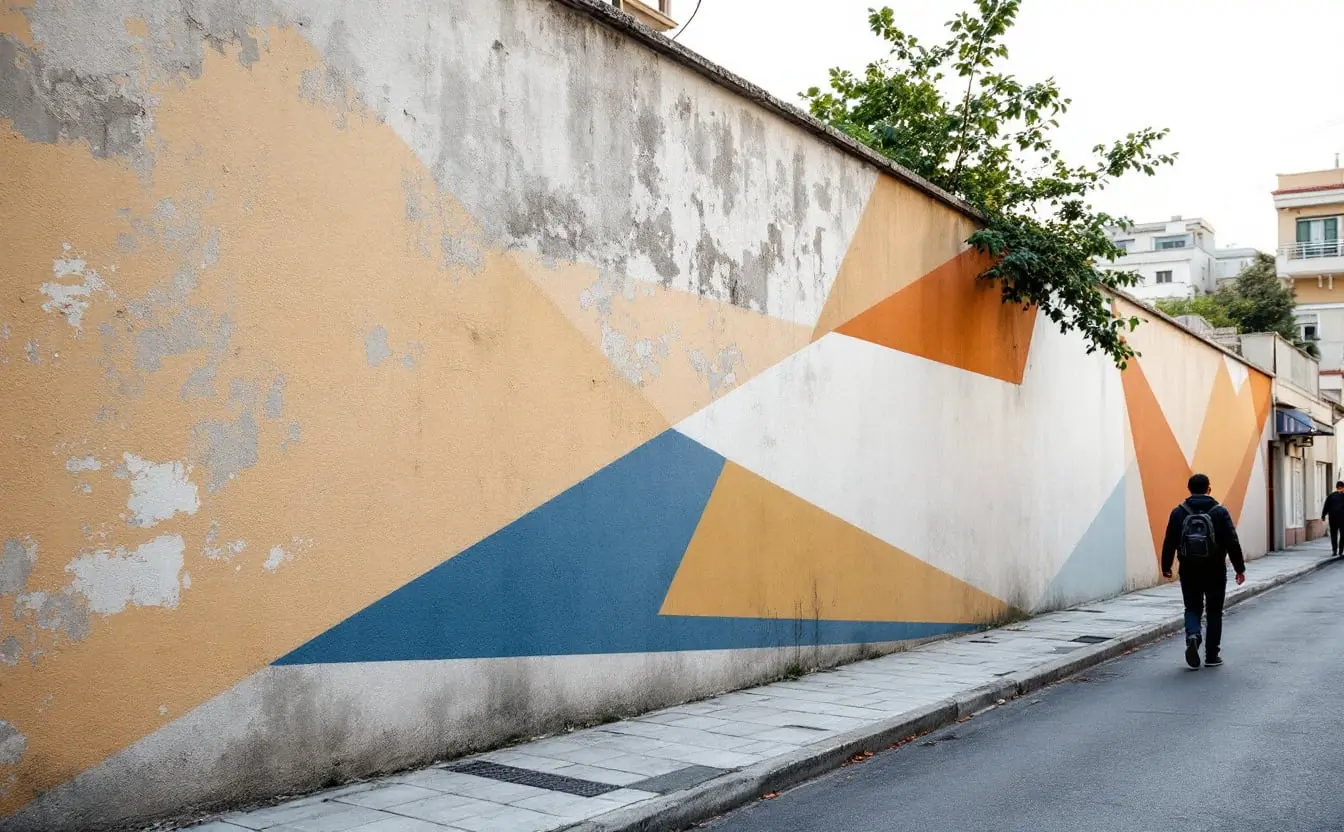
Before anything is bought, look closely. Damp patches, white salt blooms, green algae on the shaded side and render that sounds hollow when tapped all need fixing first. Find out what the wall was last painted with, because some paints will not hold over others. A quick test tells you whether the old coating is sound: cut a small cross into it, press strong tape over the cut, pull the tape off sharply and see what comes away with it.
Preparation follows from what you find. Wash the wall gently (a strong jet can strip soft render), scrape off anything loose, treat algae, fill cracks with a filler that suits the surface, and let it all dry. Then prime with a product chosen for both the wall and the paint going on top. Larger walls bring permits, insurance and lifts into the picture, and the full sequence is set out in a piece on how a large mural gets made.
Paint: what actually goes on
For most community and small commissioned murals the workhorse is exterior acrylic masonry paint. It comes in a wide range of colours, can be tinted to match a design, rolls on easily and cleans up with water. On mineral surfaces such as render and stone, silicate paint is an alternative that bonds with the wall rather than sitting on it as a film, but it needs a mineral surface and a narrower palette, and it will not hold over old acrylic layers. Spray paint has its place for lines, fades and detail, with masks and moving air for whoever holds the can.
Whatever you choose, read the technical data sheet for every product. It gives the minimum air and surface temperature, how long to wait between coats, and how far a litre or a gallon goes on a smooth surface. That last figure matters, because rough render and bare brick take considerably more than a smooth wall.
Before mixing big tins, test colours small. Student-grade acrylics in tubes, such as the Liquitex BASICS set of twelve, are well suited to that job: you can paint a strip of the design on a board, prop it against the wall and look at it from across the street in morning and afternoon light. They are not wall paint and should not go on the wall. They suit designers and groups who need to agree a palette before anyone opens a tin.
Working out how much
Paint is the line most often underestimated, and running out halfway through a sky is miserable, because a second batch can differ slightly in colour from the first. The mural paint calculator works out quantities from the wall size, any windows or doors to subtract, the number of coats and the share of the wall the design covers. Its starting example is a wall 20 feet wide and 10 high with one coat of primer, one base coat and a design covering 70 per cent of the wall in two coats, which comes to a little over two gallons. A metric switch gives the same in square metres and litres.
The coverage figure in the calculator is an assumption. Replace it with the number printed on your own tin, and add more waste than the default if the surface is rough or the painters are volunteers. Buy each colour in one go so the tins come from the same batch.
Tools for covering ground
Most of the area of a mural is flat colour, and rollers lay it down fastest. Use a longer pile on rough render and a shorter one on smooth surfaces, with a tray or a bucket and grid for each colour. Brushes do the edges and the shapes rollers cannot reach. A bulk pack of flat and angled wall brushes in several widths, such as the thirty-piece Great Andrew set, makes sense for community days, when twenty pairs of hands each need a brush and a few will be ruined by someone leaving them in the sun. They are for blocks of colour and edges rather than fine detail.
Height is the next problem. A telescopic extension pole, the kind that extends from 5 to 24 feet, lets you roll base coats and primer high on a wall from the ground, which means less time on a ladder and fewer people up one. Check that the thread on the pole fits your roller frames before the day. Above what a pole and a stepladder can reach, you need a proper scaffold tower or a hired lift, with whatever training and permits your country requires. Never improvise height with chairs, pallets or a ladder on a table.
The rest of the list is unglamorous: drop sheets, masking tape, rags, lidded tubs for decanting paint, buckets for washing brushes, gloves, a first aid kit, and barrier tape or cones if any of the work spills onto a pavement.
Tools for getting the design onto the wall
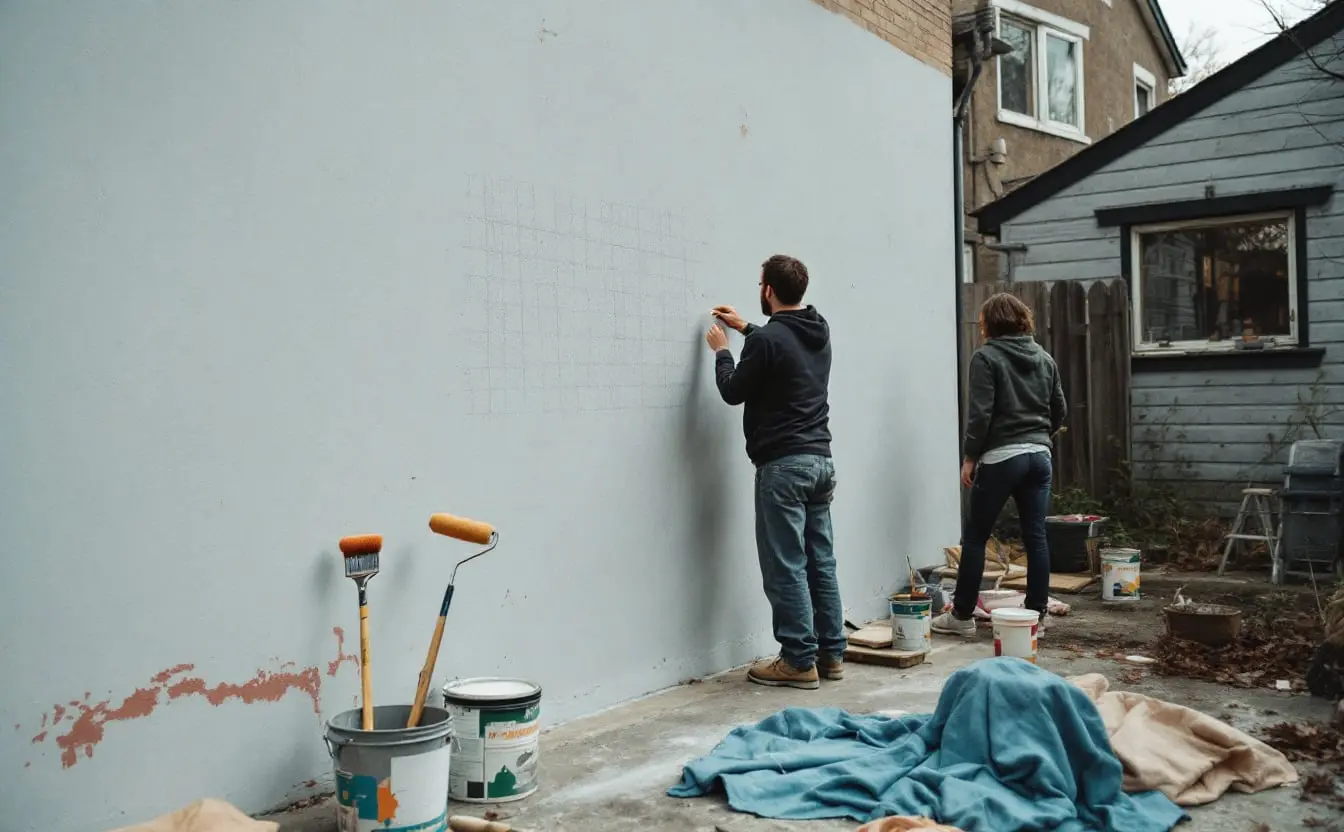
Scaling a small drawing up to a wall is where good designs go wrong. The grid method is the oldest answer and still the most reliable: draw a grid over the design, draw a matching grid on the wall, and copy one square at a time. The mural grid calculator does the arithmetic. With its starting figures (a design 24 by 18 units on a wall 16 feet wide and 10 high, split into 8 columns) the design fits the height of the wall, ends up 13 feet 4 inches wide with 1 foot 4 inches spare on each side, and the grid becomes 8 columns and 6 rows of 20-inch squares.
Long straight lines on a wall are made with a chalk line, a reel of string coated in powdered chalk that you pull tight between two points and snap against the surface. The IRWIN Strait-Line reel holds a hundred feet of line, enough for most walls, and suits anyone gridding a surface larger than a door. It takes two people, one at each end.
A self-levelling cross-line laser does the same job without string. The Huepar model projects a level horizontal line and a plumb vertical one onto the wall, which you then mark in chalk. It suits larger walls and anyone working with fewer helpers. Like all line lasers it is hardest to see in bright sun, so mark up in shade, early or late in the day.
For the outline itself, chalk or charcoal is fine on rough surfaces. On a primed board or a smooth wall, water-based paint markers give a clean, visible line. Some painters skip the grid altogether and project the design onto the wall at night, or scribble loose marks across the wall and the same marks on the design to use as landmarks. Both work; the grid is the easiest to share with a group.
These picks come from maker details, specifications and published reviews rather than our own testing.
The plan, step by step
Tools are the easy part to buy. The plan is what keeps a mural from stalling at half a sky.
- Measure the wall: width, height, and every window, vent, pipe and cable box. Photograph it straight on.
- Draw the design to scale on paper of the same proportions, then use the grid calculator to set the grid.
- Test the colours on a board in the real light, then match them to an exterior paint range.
- Work out quantities with the paint calculator and buy each colour in one batch.
- Put the whole job into numbers with the mural price calculator, which adds labour, design fee, materials, equipment, travel, a contingency and a deposit. Its default rate is only a starting point; replace it with your own figure, in dollars or your own currency.
- Confirm permission in writing, book any access equipment, and pick dates that match the temperatures on the data sheets.
- Prepare and prime the wall, then let it dry fully.
- Grid, outline, block in the large areas, add detail, clean the edges, and photograph the finished wall in good light.
When the painters are volunteers
Community murals change the kit list more than the method. Decant paint into small lidded tubs so nobody carries a full tin up a ladder. Number the colours on the outline, paint-by-numbers style, so twenty people can work at once without a meeting about every shape. Put adults at height and children on the bottom band, with a clear rule about who climbs. A tap or a supply of water nearby matters more than anyone expects, and so do toilets. Much of the practical sense from running an art workshop in a public park carries straight over to a wall.
One last thing belongs on every list. When the wall is finished, keep a closed tin of every colour, write the mixes on the inside of each lid, and hand the tins to whoever holds the keys to the building. In a few years a drainpipe will be replaced and leave a pale scar across the design, and that box of tins will be the whole repair.